I'm going to give it a try anyway. So here goes:
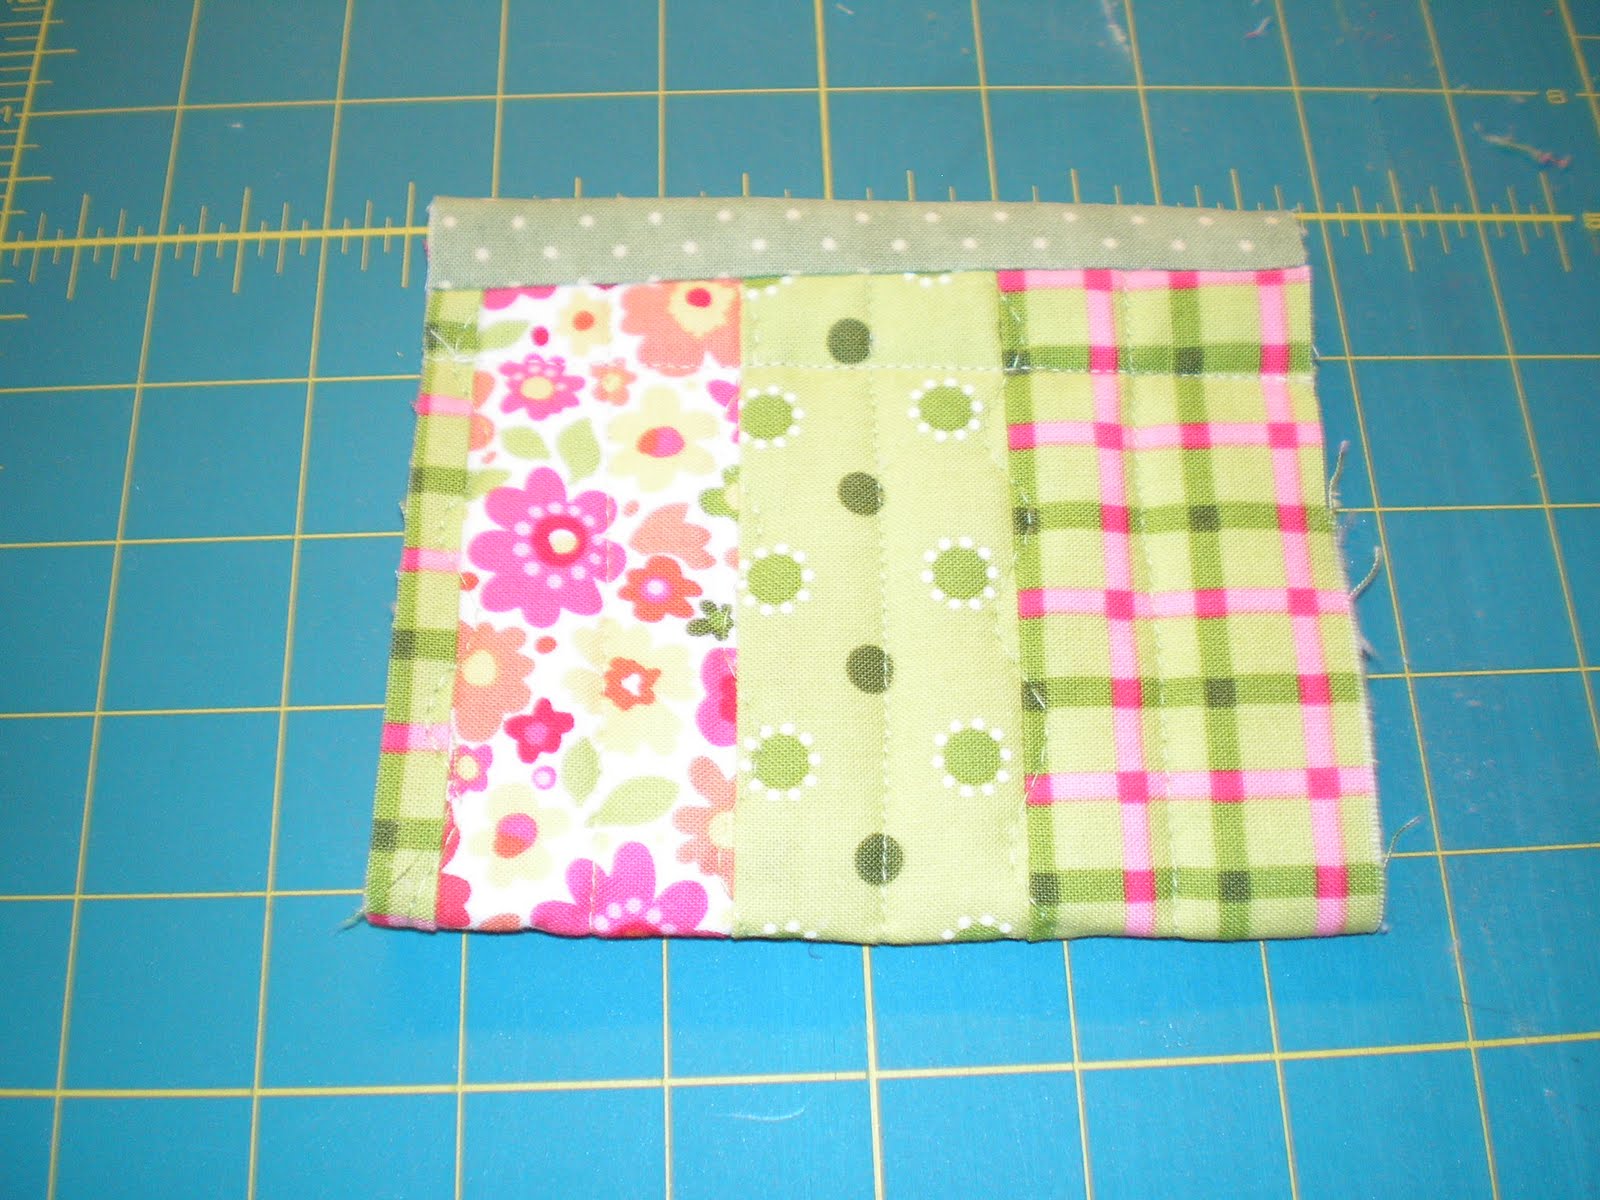
I layered and quilted a piece I wanted for the front and back, and a piece of batting. This one I cut to 5x8". You can make these any size you want.

Cut 2 pieces of fabric for the casings, 3 1/2" wide.

Lay those pieces at both ends of lining side of quilted piece, right side down.

Sew both in place using 1/2" seam.

Press away from body.

Turn piece over and fold edges down to meet edge of body, press.


Then fold edges to middle to make 2 prairie points. (You can make tabs, or use other shapes for these, they are what you pull to open purse.)

Place the prairie points about 1/4" below the half inch seam from the casings.

Then fold casing over to cover edge of prairie point and secure.

Of course, do both sides.


Trim excess at sides.

Using very old scissors and a 3/4" metal tape measure, cut 2 pieces of the metal to about 3/4" shorter that width of casing.

Round off the edges and cover with small pieces of tape to make sure they don't rip your fabric.

Slip them into the casings with the numbers facing the lining side.

Fold up RST and stitch up sides of bag using 1/4" seam.
Make sure metal tape is far enough in from your needle. I have it sticking out one side as I sew up the first seam, then push it in as far as it will go when sewing the other side.

Finish seam using serger or zig zag stitch. ( I sure wish I had a serger...)

Turn inside out.

And you have a snap shut bag!!! Easy peasy.

You can embellish all you want, and a nice little handle is cute too.
There are many ways to make these bags, but I just hate to use interfacing and make separate linings, so I found this pretty easy.
Took all of about 20 minutes once you have your fabric ready. Purchased pre- quilted stuff works just as well, but it's cheaper to make your own using all of these small pieces of scraps.
WilmaNC